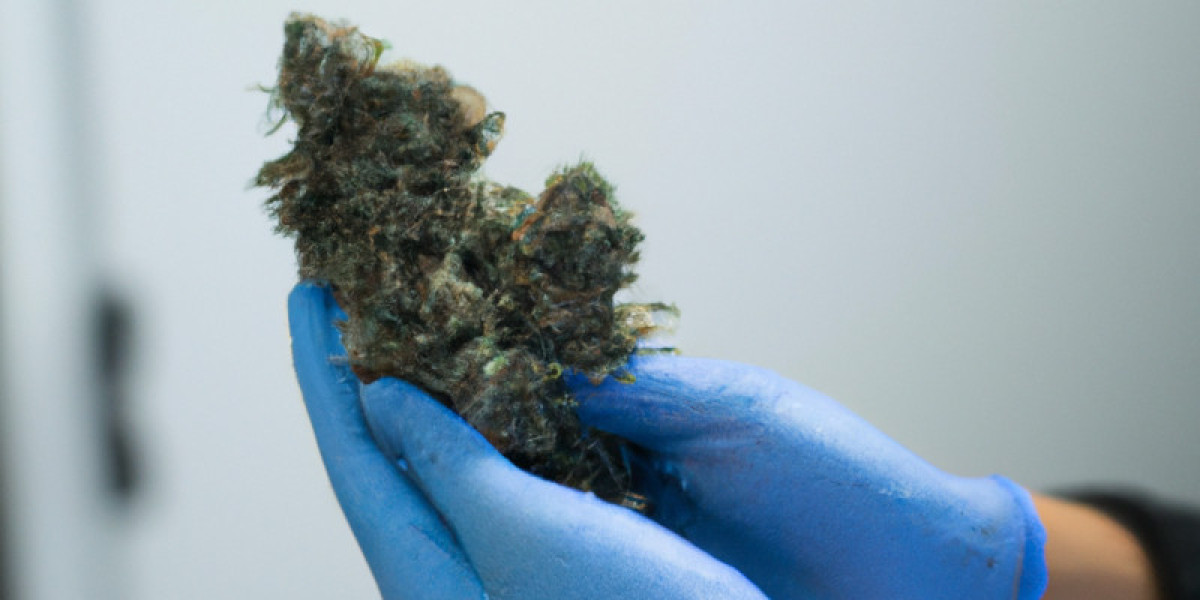
How to Properly Cure Cannabis After Growing It
Curing cannabis is a crucial step in the cultivation process that can greatly enhance the potency, flavor, and overall quality of the final product. Properly curing your harvested cannabis buds allows for the break down of chlorophyll and other undesirable compounds, resulting in a smoother, more enjoyable smoke. In this article, we will guide you through the process of curing cannabis after growing it.
1. Harvesting at the Right Time
Before you can begin the curing process, it is essential to harvest your cannabis plants at the right time. Harvesting too early or too late can negatively impact the final quality of your buds. The ideal time to harvest is when the trichomes, the tiny resin glands on the plant, turn from clear to milky white or amber.
2. Trimming the Buds
Once your plants have been harvested, it is important to trim the buds to remove any excess leaves and stems. Trimming helps to improve the appearance and overall quality of the final product. Use scissors or a sharp knife to carefully remove the unwanted parts of the buds.
3. Drying the Buds
After trimming the buds, they need to be properly dried. Hang the trimmed buds upside down in a well-ventilated room or a designated drying area. Maintain a temperature of around 60-70°F (15-21°C) with a humidity level of approximately 45-55%. This slow drying process allows for the removal of excess moisture without over-drying the buds.
4. Curing in Glass Jars
Once the buds are dry, it's time to transfer them to glass jars for the curing process. Mason jars or any airtight containers work well for this purpose. Fill the jars with the dried buds about 75% full to leave some room for air circulation.
5. Burping the Jars
During the first week of curing, it is crucial to "burp" the jars daily. This involves opening the jars for a few minutes to release any excess moisture and exchange the air inside. Keep a close eye on the buds' moisture level during this period, as too much moisture can lead to mold formation.
6. Maintaining the Ideal Environment
To properly cure cannabis, ensure that the jars are stored in a dark, cool, and dry place. The ideal temperature for curing is around 60-70°F (15-21°C), with a humidity level of 55-62%. An environment with these conditions will facilitate the breakdown of chlorophyll and allow the desired flavors and aromas to develop.
7. Patience is Key
Curing cannabis is a slow process and requires patience. The minimum recommended curing time is two weeks, but allowing the buds to cure for four to eight weeks or even longer can result in a higher quality product. The longer curing time allows further breakdown of compounds, resulting in a smoother smoke and enhanced flavor.
8. Regular Care and Monitoring
Throughout the curing process, it is important to regularly check the buds for any signs of mold, mildew, or other unwanted issues. If any issues are identified, remove the affected buds immediately to prevent further contamination of the rest. Additionally, gently shake the jars daily to ensure proper airflow within.
9. Final Storage
Once your cannabis buds have fully cured, it's time for long-term storage. Transfer the cured buds into airtight containers, such as glass jars, and store them in a cool, dark place. Properly cured and stored cannabis can last for several months or even up to a year while preserving its potency and quality.
Conclusion
Curing your harvested cannabis is an essential step in achieving higher potency, improved flavor, and overall better quality. Understanding and following the proper curing process will significantly enhance your cannabis experience. By harvesting at the right time, trimming, drying, and then curing the buds in glass jars, you can enjoy a smoother smoke with enhanced flavors and aromas. Remember to be patient, regularly monitor the buds, and store them correctly for long-term preservation. With these steps, you can ensure a top-quality cannabis product from seed to consumption.


